

Getting Started with Angular CLI
The Angular Command Line Interface (CLI) will help you stay organized and build applications faster. If you’re new to Angular or you’ve been developing in Angular for a while but only use Angular CLI to begin a new project, its time to get started using some of the features that can simplify your development process.
Why Use Angular CLI?
There are many ways you can architect Angular applications but for most developers, starting from a blank slate can be overwhelming and can often result in a project structure that turns into a support nightmare. Style guides and widely used conventions make code easier to read and maintain. Generating boilerplate code and a project structure with the Angular CLI is a great way to start your application.
Install Angular CLI
To install Angular CLI, you’ll need Node 8.x or higher and NPM 5.x or higher. You can check your versions by running node -v and npm -v in your terminal.

To install the latest Angular CLI globally, run:
npm install -gIf you want to install it locally, you can install the it in a specific directory by dropping the -g flag:
npm installIf you already have the Angular CLI installed, you can check your version by running ng -v.
With the release of Angular 6, the CLI version number jumped from 1.7 to 6.0.0 to match and with the release of Angular 7 to 7.0.0. To check the latest version, visit: github.com/angular/angular-cli/releases
For more details on setting up your computer for Angular development check out this article.
ng new
The command we’ll use to create a new application in Angular CLI is ng new. To start a new demo application, we’ll use the command ng new demo-app. Let’s break down what’s going on in that command.
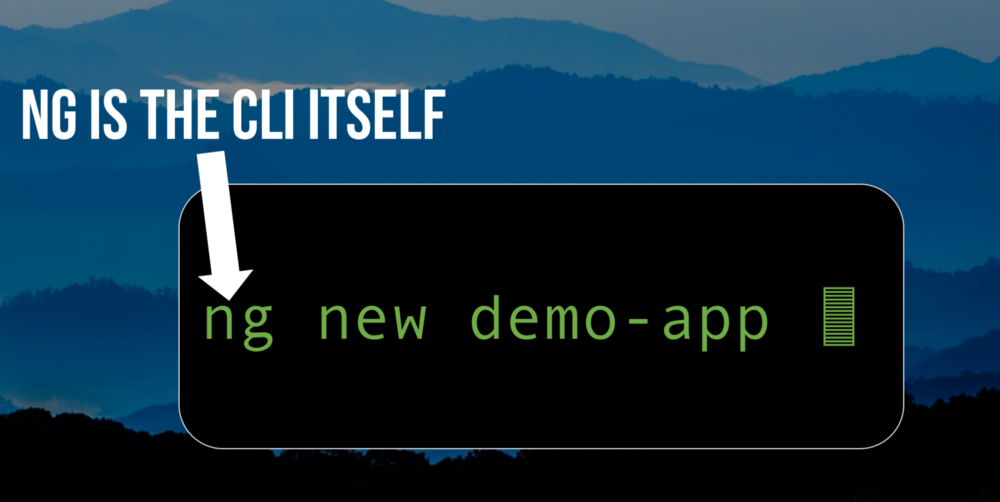 ng is the CLI itself
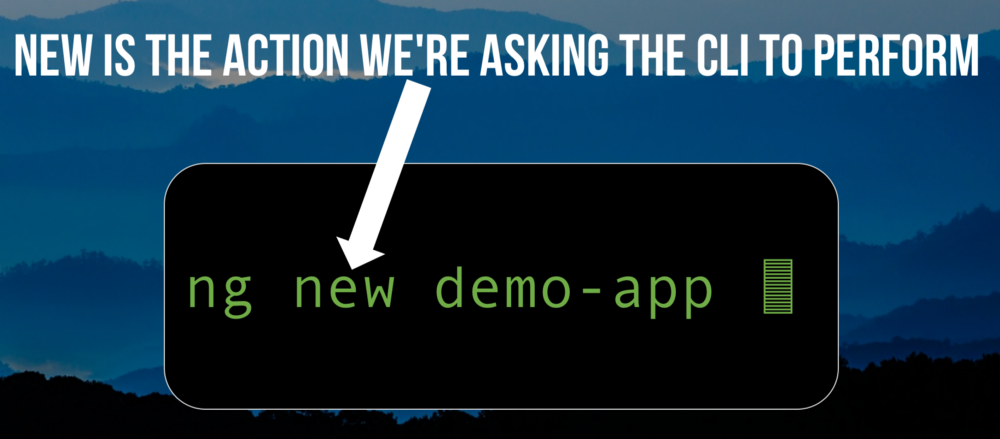 new is the action we’re asking the CLI to perform
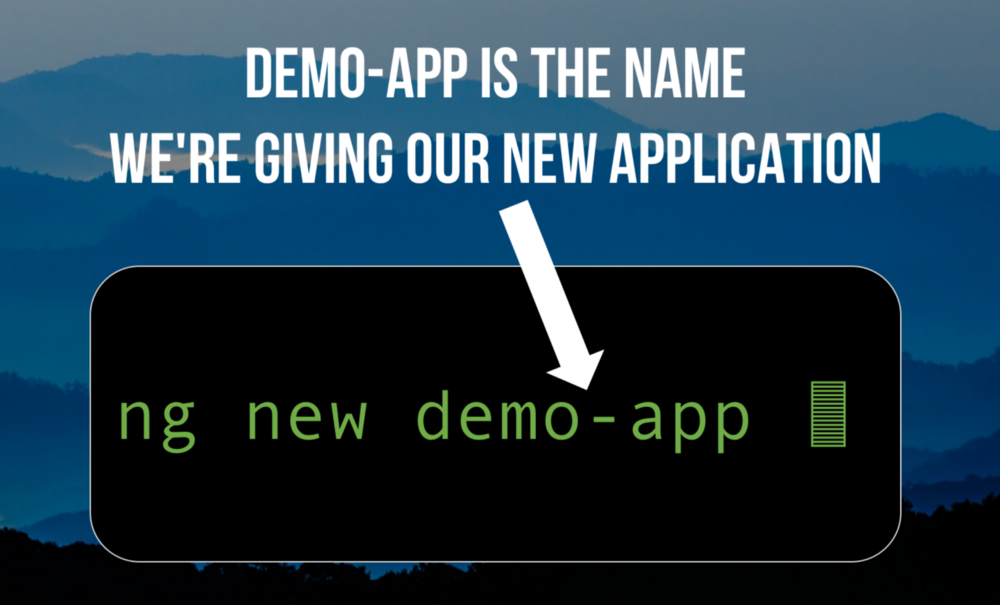 demo-app is the name we’re giving our new application
By running this command, the CLI will generate a new application called demo-app and place all the files and subdirectories in a directory also called demo-app. We’re going to use this command but first, lets take a look at Angular CLI Flags.
Angular CLI Flags

Flags are options that you can use for CLI actions. For example:
--dry-run--dry-run is a flag that will show you what would be generated by your action command without actually creating any directories or files. Open up a terminal and run the following:
ng new demo-app --dry-run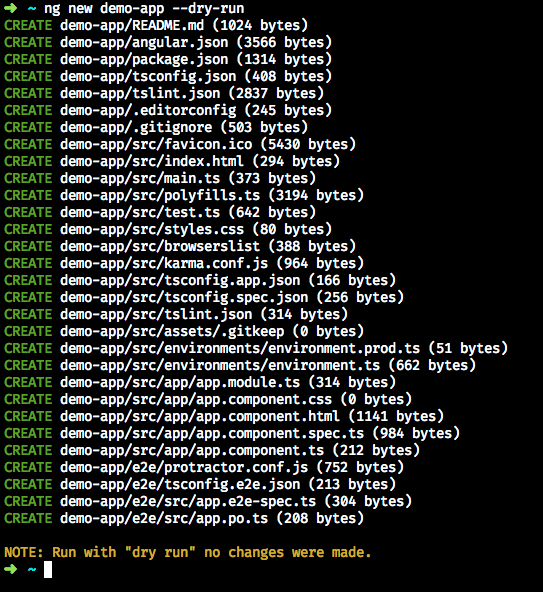
Angular CLI will show you all the directories and files that would be created by the command, along with that little reassurance at the bottom — “NOTE: Run with “dry run” no changes were made.”
You can apply multiple flags to CLI actions, so lets give that a try. By default the directory created with ng new will be the same name as the application. But you can use the directory flag to name the new directory something different. Try it out with this command:
ng new demo-app --directory=./my-awesome-app --dry-run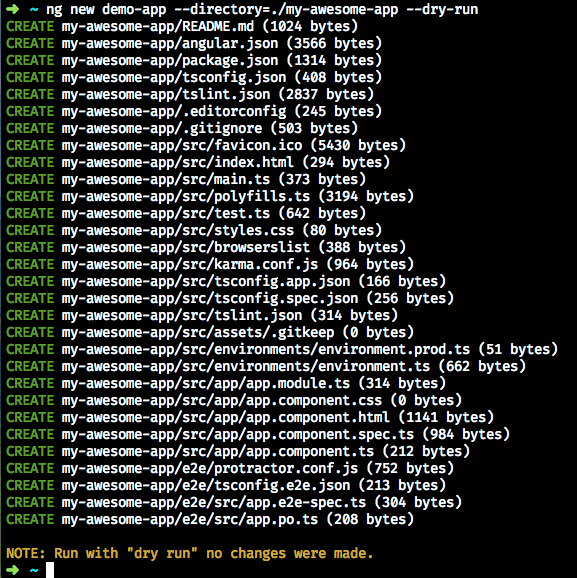
This time the dry run will show that all your files would be placed in the directory you specified with the --directory flag.
Our demo application is going to have more that one page, so we’re going to need routing. The default ng new doesn’t add routing so let’s run that last dry run again, but this time add the --routing flag.
ng new demo-app --directory=./my-awesome-app --routing --dry-run
Now you’ll see that the app-rouitng.module.ts file has been added to the list of files that would be created.
To see a list of all the available flags for ng new run the --help flag:
ng new --help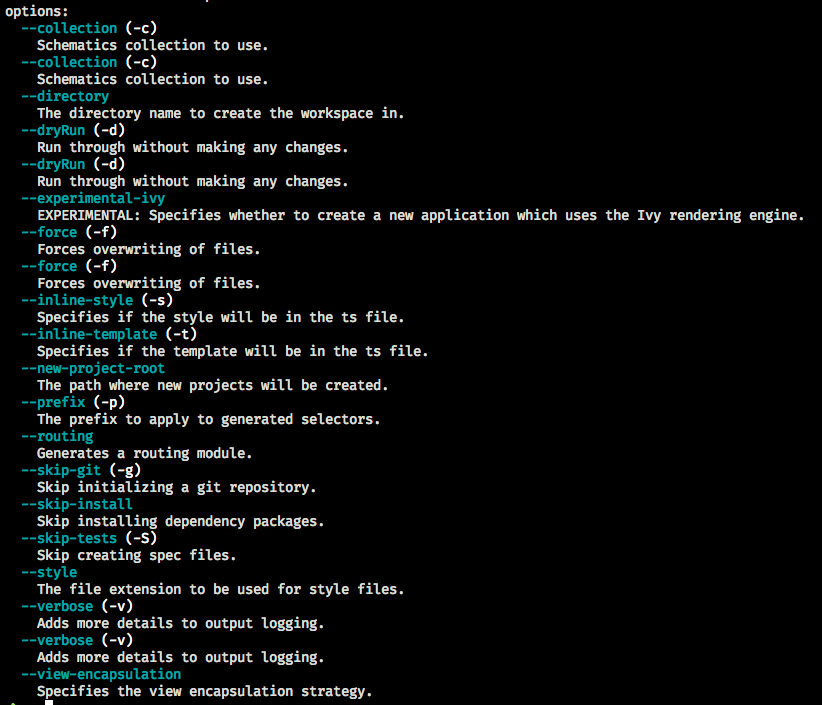
Notice that most of the flags have a single letter short cut you use. For example, instead of --dry-run just use -d. The long names all start with double dasheswhile the shortcuts start with just one.
Enough with the dry runs, lets create a new application
In your terminal, change into a directory where you want to place the demo application folder.
We’ll need routing for our demo app, so let’s use the --routing flag. We’ll also use the --skip-install flag on our action to see how it works. It will skip installing the dependency packages for the application.
--skip-install isa great option if you’re just wanting to test something quickly or get started on a new project offline or on a slow Internet connection. In your terminal run:
**ng new demo-app — routing — skip-install**
Now open the newly created application in your code editor. There are a lot of great code editors, but in this walkthrough, we’ll be using Visual Studio Code. Change into the new directory with:
cd demo-appAnd launch VS Code with:
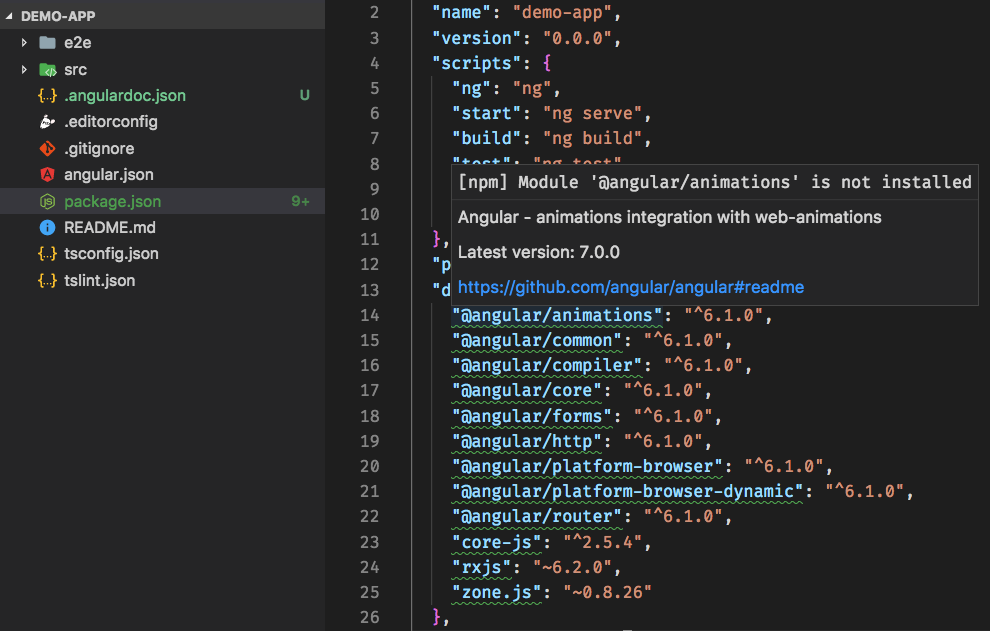
code .Now in VS Code, open the package.json file and check out all those squiggly lines in the dependencies. If you hover over one, you’ll see a message that the npm dependency is not installed. That’s the result of the --skip-install flag we used on our cli command.
Click on one of the squiggly underlined dependencies and then click the on the Lightbulb icon to see the Code Actions suggested by VS Code.
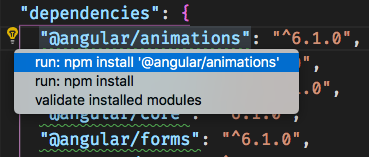
Go ahead and choose the second choice run: npm install to install all the missing dependencies. It may take a minute or two for the installation to complete. That’s the couple of minutes you saved by using --skip-install.
ng serve
To view our demo application in the browser we‘ll go right back to the CLI. To start up a local server in memory and view the application, we can use the CLI command ng serve.
When it completes you’ll be able to view the app in your browser at port 4200. But let’s add the flag -o to our command and the CLI will also load the app in your browser when its ready.
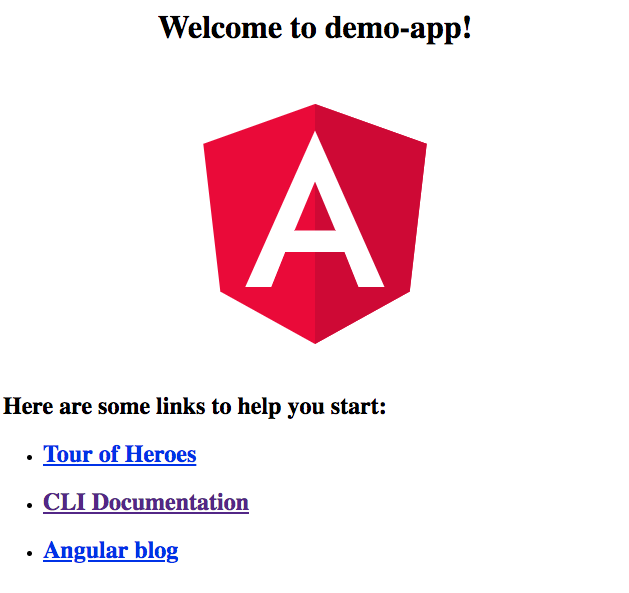
ng serve -oYou should see the default page open in your browser.
ng add
One of the commands added in Angular CLI 6 was ng add. It makes adding capabilities to your app easy and is a real time saver. Let’s use it to add Angular Material to apply some styling to our demo application.
In previous versions of the CLI, to install Angular Material you’d have to run:
npm install — save @angular/material
npm install — save @angular/animations
And then add the imports it into the /src/app/app.module.ts file, but no more! Let’s install Angular Material with ng add. Open another terminal window or the use the terminal in VS Code to run:
ng add @angular/materialThat’s it. The CLI does all the heavy lifting and now Angular Material is installed and configured in your application.
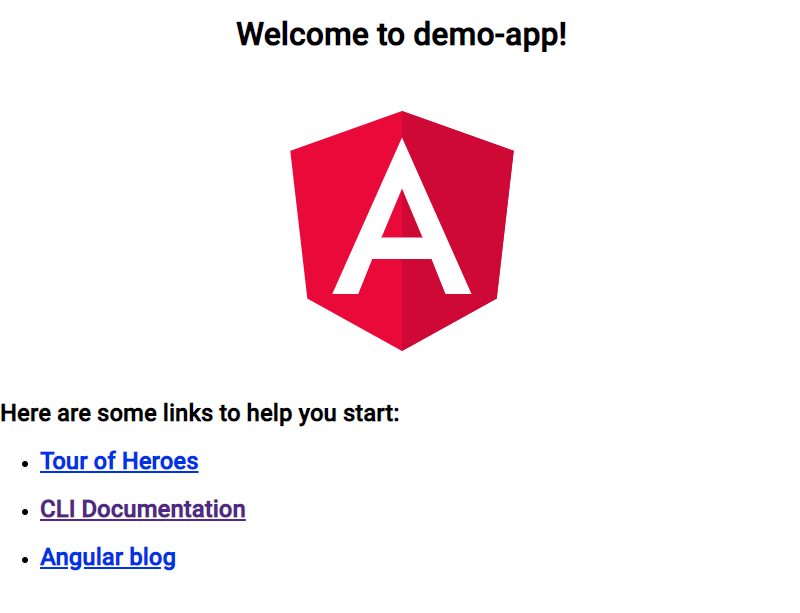
Go check the demo application in your browser and you’ll see the font and spacing changes that Angular Material added to the page.
ng generate
Now that we have Angular Material installed, let’s move on to a CLI command you’ll find incredibly helpful when developing in Angular.
ng generate will build out the schematic for many features you can add to your application. I find myself using it most often to create classes, components, modules, and services.
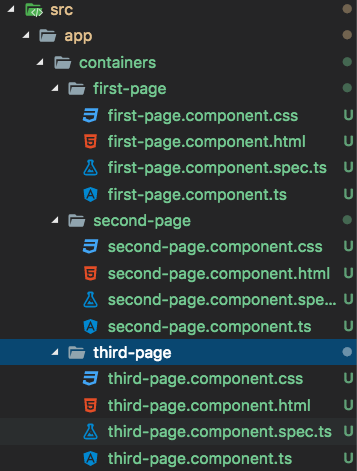
Let’s use it to add a few components to our demo application. We’ll create a component called first-page and ask ng generate to create it in a subdirectory called containers. In terminal run:
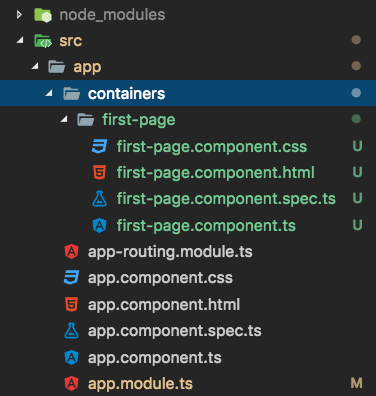
ng generate component containers/first-pageIn VS Code you’ll see the containers subdirectory under src/app and under it, the first-page subdirectory with the boilerplate component files created by ng generate.
Let’s add two more components to our application, but this time use the shortcuts by typing g instead of generate and c instead of component. In terminal run:
ng g c containers/second-page
ng g c containers/third-page
Now we have three boilerplate components ready to go in our app.
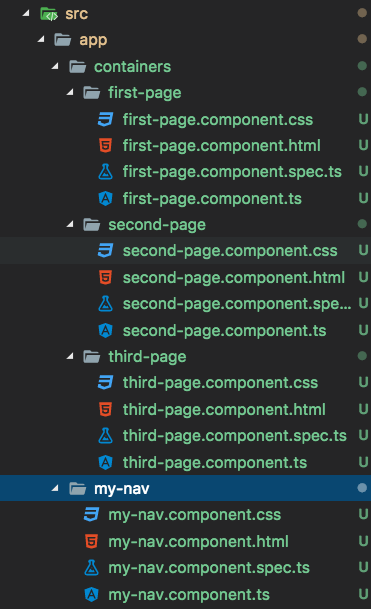
Now that we have a few components, we need a way to get to them in our application. Let’s use ng generate to add a navigation menu. Since we already added Angular Material, we’ll use ng generate to add the menu using Angular Material. In terminal run:
ng g @angular/materialIn VS Code, you can now see the myNav subdirectory and files that the CLI generated for the navigation menu.
To add the Nav menu to our application, open the app.component.html file in VS Code. Delete all the boilerplate code in the file, replace it with
<app-my-nav></app-my-nav>and save the file.
Now go to your browser and check out the new navigation menu.
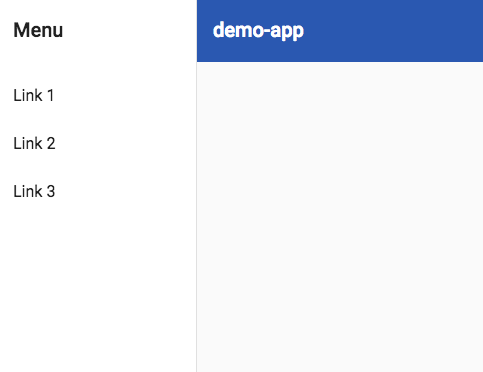
Navigation Menu
Notice that it’s responsive and gives you the “hamburger” menu when it gets down to mobile sizes.
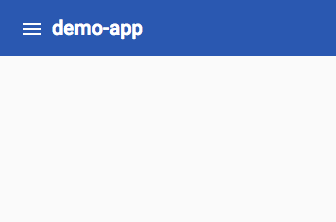
Navigation Menu at Mobile Size
That looks nice but if you try the menu links, it doesn’t do anything. Lets set it up to navigate between the three components we added earlier.
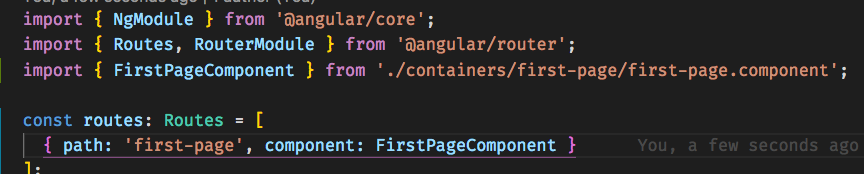
When we ran the CLI command to create a new application we used the --routing flag so it created our app.routing.module.ts file. Open it up in VS Code and inside the square brackets of our const routes, add:
{ path: ‘first-page’, component: FirstPageComponent }Notice the red squiggly line under FirstPageComponent.

Click on it and then click on the Light Bulb that pops up to see the Code Action that VS Code suggests. Then click on the suggested action and VS Code will add the import.
We need to add two more paths for our second-page and third-page components, so lets use a keyboard shortcut in VS Code that will duplicate lines of code. Place your cursor on the line with the first-page path and press this key combo depending on your OS:
Windows: SHIFT + ALT + DOWN
Mac: SHIFT + OPTION + DOWN
Linux: SHIFT + CTRL + ALT + DOWN
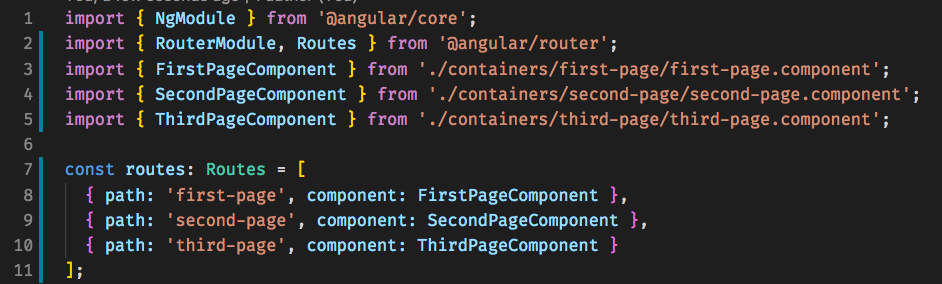
Do it twice and then edit the new lines for the second-page and third-page components. Don’t forget to add commas to the ends of the first two lines, the duplicate short cut won’t do that for you.
{ path: 'first-page', component: FirstPageComponent },
{ path: 'second-page', component: SecondPageComponent },
{ path: 'third-page', component: ThirdPageComponent }
You can use the lightbulb code actions again to add the imports for the two additional route paths and save the file.
Now we can add routing to the our navigation menu. Open the my-nav.component.html file in the my-nav subdirectory.
In the
<a mat-list-item [routerLink]="['/first-page']" routerLinkActive="router-link-active">First Page</a>You can delete the next two lines and then use the handy duplication trick again and edit the code for the second-page and third-page.

Before we save the file, we need to add our router outlet. In the section where it says to Add Content add:
<router-outlet></router-outlet>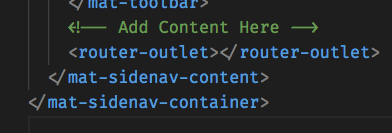
Okay, save the file and go look at the application in the browser. You can now navigate between the three components using the navigation links.

To get started using Angular CLI we:
- used ng new to make a few dry runs and explore options with Flags
- used ng new in the Angular CLI to create a new demo application
- used ng serve to view our boilerplate app in the browser
- added Angular Material with ng add
- added three components with ng generate
- added a navigation menu with ng generate
- and edited our app.component.html and app.routing.module.ts files to use the navigation menu the CLI created
The simplicity and convenience of using Angular CLI made all these tasks faster and easier than using snippets or cutting and pasting from past projects. Take advantage of the tools you have and get started using Angular CLI in your application building.
Speak Your Mind