

Computer Setup for Angular Development
“The secret to getting ahead is getting started.”
― Mark Twain
The first step in getting started in creating Angular applications is to get your computer ready. As a developer, you’ll personalize your setup and the tools you use over time, but to get started coding now, here’s a solid foundation that you’ll find works well for Angular development.
Selecting an Editor
There are a lot of great editors you can use for Angular development.
- Atom
- Coda2
- Eclipse
- Visual Studio
- Visual Studio Code (VS Code)
- WebStorm
For this setup, I recommend you go with Visual Studio Code. VS Code runs on Windows, Mac, and Linux and has great support for Angular. Plus you’ll find as you’re learning Angular, most of the tutorials and resources created by seasoned Angular developers will use VS Code and will reference functionality within the software.
Install and Configure VS Code
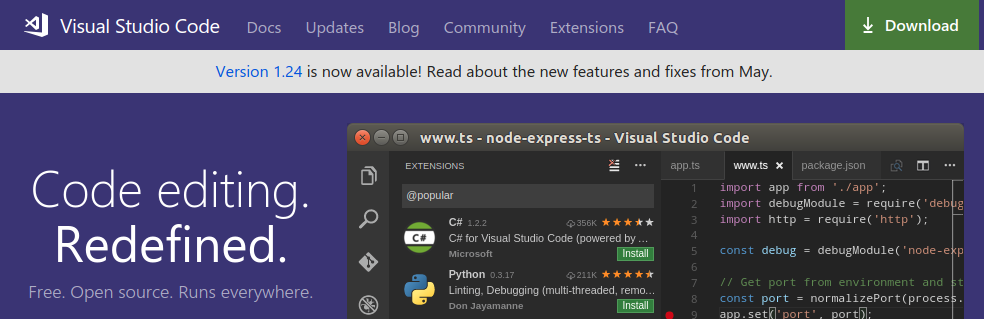
Head over to the VS Code website at code.visualstudio.com and click on the Download link in the top right to go to the Downloads page. Choose the installer appropriate for your OS, then download and install the program.
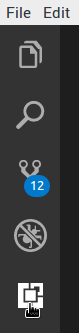
Once installed, open VS Code and click on the Extensions icon at the bottom of the side bar menu. In the search box that opens, search for Angular Essentials.
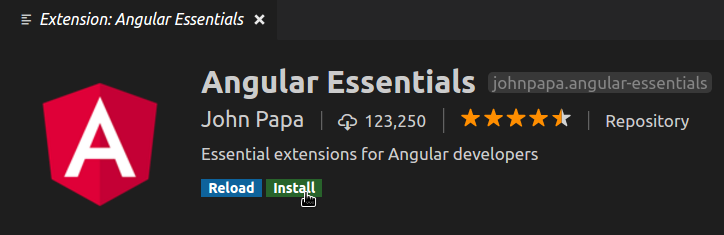
Angular Essentials is an extension pack of several extensions that are very helpful for Angular development. Curated and maintained by Angular developer John Papa, the pack includes the following:
- Angular v6 Snippets
- Angular Language Service
- Editor Config for Visual Studio Code
- TSlint
- Debugger for Chrome
- Path Intellisense
- angular2-inline
- Winter is Coming theme
- Prettier — Code Formatter
Click on the Install button to install the Angular Extensions pack.
Then choose File (Code on MacOS)> Preferences > Settings
Enter “settings.json” in the search box
Click on “Edit in settings.json” in the results
The add the following to your User Settings and save it to configure your new extensions:
{
    "window.zoomLevel": 1,
    "gitlens.advanced.messages": {
        "suppressShowKeyBindingsNotice": true
    },
    "editor.formatOnSave": true,
    "prettier.singleQuote": true,
    "prettier.eslintIntegration": true,
    "prettier.tabWidth": 2,
    "gitlens.historyExplorer.enabled": true,
    "typescript.updateImportsOnFileMove.enabled": "always",
    "editor.codeActionsOnSave": {
        "source.organizeImports": true
    }
}
You’ll want to be able to enter code . in any directory from your command line to open the directory in VS Code so …
If you’re on Windows, restart your computer.
If you’re on a Mac, hit CMD+SHIFT+P to open the command palette. In the palette, enter Shell Command and then choose Shell Command Install ‘code’ command in PATH.
If you’re on Linux, no need for either, code in PATH is already working for you.

NPM (Node Package Manager)
Node Package Manager (NPM) is a command line utility that interacts with a repository of open source projects. With NPM you can install libraries, packages, and applications and all of their dependencies, quickly and easily.
NPM is bundled inside Node.js, so you’ll install Node to install NPM.
Node.js (Node)
Node is an open source server environment that uses JavaScript on the server. Node can:
- generate dynamic page content
- create, open, read, write, delete, and close files on the server
- collect form data
- add, delete, and modify data in your database
Don’t be fooled by the name. Node.js is not a JavaScript file even though it looks like one with that .js extension, its the actual name of the product.
To install Node which will also install NPM . . . you first need to install NVM.
Node Version Manager (NVM)
NVM is a community tool that allows you to run different versions of Node.js on your machine. That can be important later on if you’re working collaboratively or take over a project based on another developer’s code. NVM runs on Linux and Mac but a similar community tool for Windows is available.
Install NVM-Windows
If you’re on Windows, head over to the nvm-windows releases repository on GitHub at github.com/coreybutler/nvm-windows/releases to download and install the Latest Release version. Installation instructions can be found in the README file.
Install NVM on Mac or Linux
In your terminal, install NVM using Curl or Wget by running either:
curl -o- https://raw.githubusercontent.com/creationix/nvm/v0.33.0/install.sh | bashwget -qO- https://raw.githubusercontent.com/creationix/nvm/v0.33.0/install.sh | bashVerify your installation by running:
nvm --versionIf you’re on a Mac and the nvm command doesn’t run, you may be missing your .bash_profile file. If so, you can run:
touch ~/.bash_profileThen re-run the Curl or Wget installer script.
If the problem persists after that, you can open the existing .bash_profile file (using your favorite text editor) and add the following line to it:
source ~/.bashrcYou may need to close your terminal and reopen it before you run nvm — version again to see the version number.
Install Node and NPM
To install the latest available LTS version of Node.js, run the following command:
nvm install --ltsTo install a specific version, find the version number at github.com/creationix/nvm/releases and run:
nvm install VERSION-NUMBERSetting Up a New Angular Application
To setup a new Angular application you’ll need to create an application folder, add package definition and configuration files, install all the packages, create the application’s Angular Module, create your main.ts, create your index.htm . . .
But that sounds like a lot of work. Setting a new Angular application up manually is time consuming and prone to error, so let’s look at some better options.
GitHub
The Angular team provides a set of quickstart files you can use to setup a boilerplate application. github.com/angular/quickstart
Angular CLI
A command line tool that will generate the setup files and boilerplate code for an Angular application.
Angular CLI generates your components, services, modules, and other files. It will also scaffold and execute your unit and end-to-end-tests and provide options to minimize, package, and prepare your files for deployment.
Angular CLI is the tool I recommend for getting started building, testing, and deploying Angular applications.
Install Angular CLI
Open a terminal and run:
npm install -g @angular/cliSetup a New Angular Project with Angular CLI
Time to try it out by creating a new Angular project using Angular CLI. In your terminal, change to the directory where you want to place the new Angular project. You may want to make a new directory for all of your Angular projects by entering:
mkdir angularThen go into your new angular directory:
cd angularNow to setup a new boilerplate project inside your angular directory, run:
ng new MY-NEW-PROJECT-NAMEWhen Angular CLI finishes creating the project files, go into the new directory:
cd MY-NEW-PROJECT-NAMENow open up your new project in VS Code by running:
code .
VS Code will open and you’ll see all the files that Angular CLI created to get you started.
Now take a look at your new project in your browser, go back to your terminal and in your project directory run:
ng serve -oThe Angular application will load in your default web browser. Now take a look at how the application will automatically reload if you change any source files.
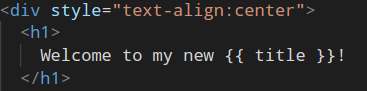
Back in VS Code, open src > app > app.component.html
Edit the H1 text to say Welcome to my new {{ title }}!, save it and you’ll see the change instantly in your browser.
You now have all the tools you need to get started building Angular applications on your computer. Happy Coding!
Speak Your Mind